Sunday, December 5, 2010

Pin Wreath.

Back in September, I was perusing Martha's site and I came across this wreath. At first I thought I could make this for free - I had clothespins and I knew my mom had some embroidery hoops that she wasn't using any more. After a first dismal attempt {Martha's guide says to use mini clothespins and I thought I could use regular ones - turns out there isn't room for very many that way and they were too heavy to stay on the hoop with wood glue and hot glue wasn't a long lasting solution}, I splurged on $2.24 worth of mini clothes pins and set out to remake it.

The result:

All in all, this project probably took me 20 minutes (and half of that was struggling with the bows - I suck at tying pretty bows) and it was practically free.

I'm planning to leave this up all year and just switch out the ribbon for the appropriate season to display birthday cards and other mailed pretties (Susan & I have a pretty steady card exchange we do at least once a month, more often when the mood strikes us).

What sorts of methods do you use to display your holiday cards?

Friday, December 3, 2010

Personalized.


Hey bloggy friends! It's been awhile since we've posted, but I promise we haven't forgotten about our crafts! I actually have several projects either finished, in progress or planned for the upcoming weeks that I'll be sharing with you.

First is a simple 5 minute craft. I adore personalized anything. Put my name on it, and tiny hearts light up in my eyes. Every year I tell my husband that this is the last time I'm going to buy new stockings and every year I see a new one to fall in love with and promise yet again that this is the last time. Last year I hearted the classic red & white stockings with silver initial pins. This year I'm back to loving my favorite motif - country clutter. I found some pretty great stockings {polka dots! swoon!} from Ballard Designs that you could have embroidered with your name {double swoon!} but the price tag was pretty panic-attack inducing. Since I suck at embroidery but I really wanted to do something that put our names on our stockings and I wasn't about to shell out $30 a piece for stockings, I had to get crafty.

Enter Target. Oh Target, how I love thee and thy awesome dollar bins. In a recent stroll through my Mecca, I found these super cute wooden star ornaments with a simple hook to hang. Picture a light bulb going off over my head. I grabbed up three {one for me, the hubs and the bubs} and then went off to the scrapbooking aisle for some glittery funness by way of lettering. Side note: I could have used my Cricut to cut out the letters and embellished with glitter myself - however, I'm still in my infancy of collecting cartridges and I only have one font cart and it's not my favorite. Wham, bam, thank you ma'am. $4 later and I have my personalized plaques for our stockings {and the BEST part is that if I change my mind in the future, these tags go with!}

Here's your incredibly easy how-to:
  1. Gather blank ornaments
  2. Gather embellishments {as fancy or as plain as ya wanna get - I kept mine to just the name as the surface I was working on is quite small}
  3. Adhere your letters and embellishments to the ornaments {in the picture below I show ModPodge as part of the items used - I didn't end up using it at all}
  4. Hang on stockings.


Tuesday, November 16, 2010

Going Green


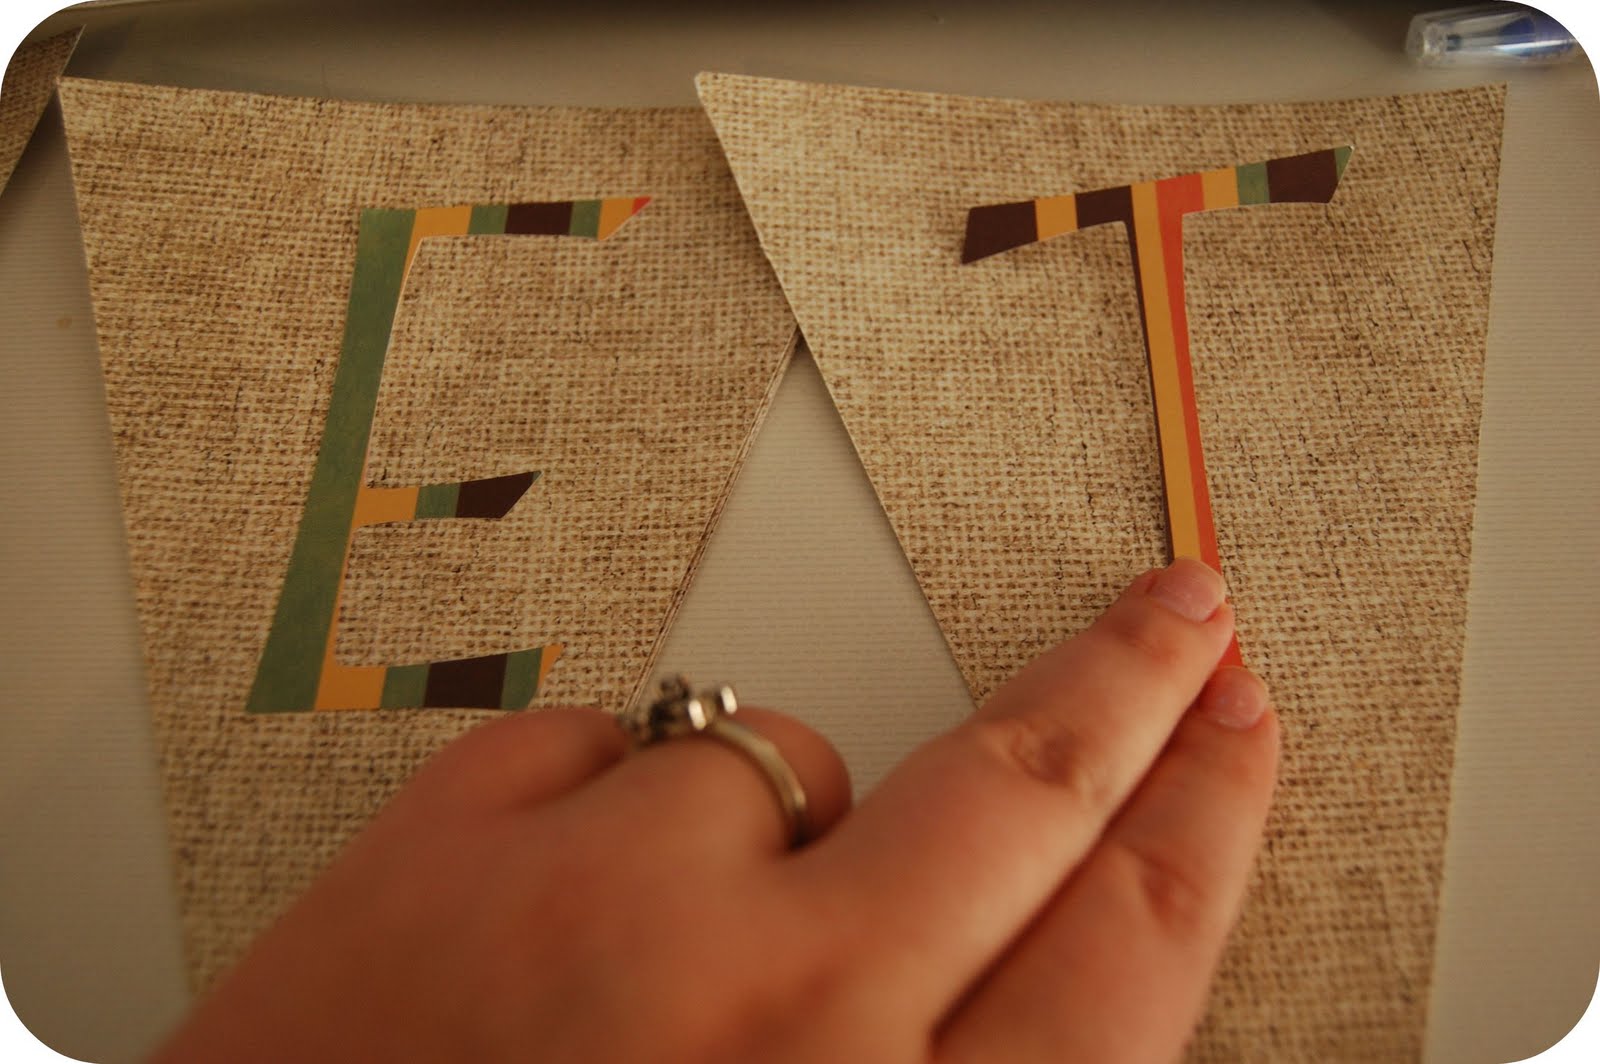
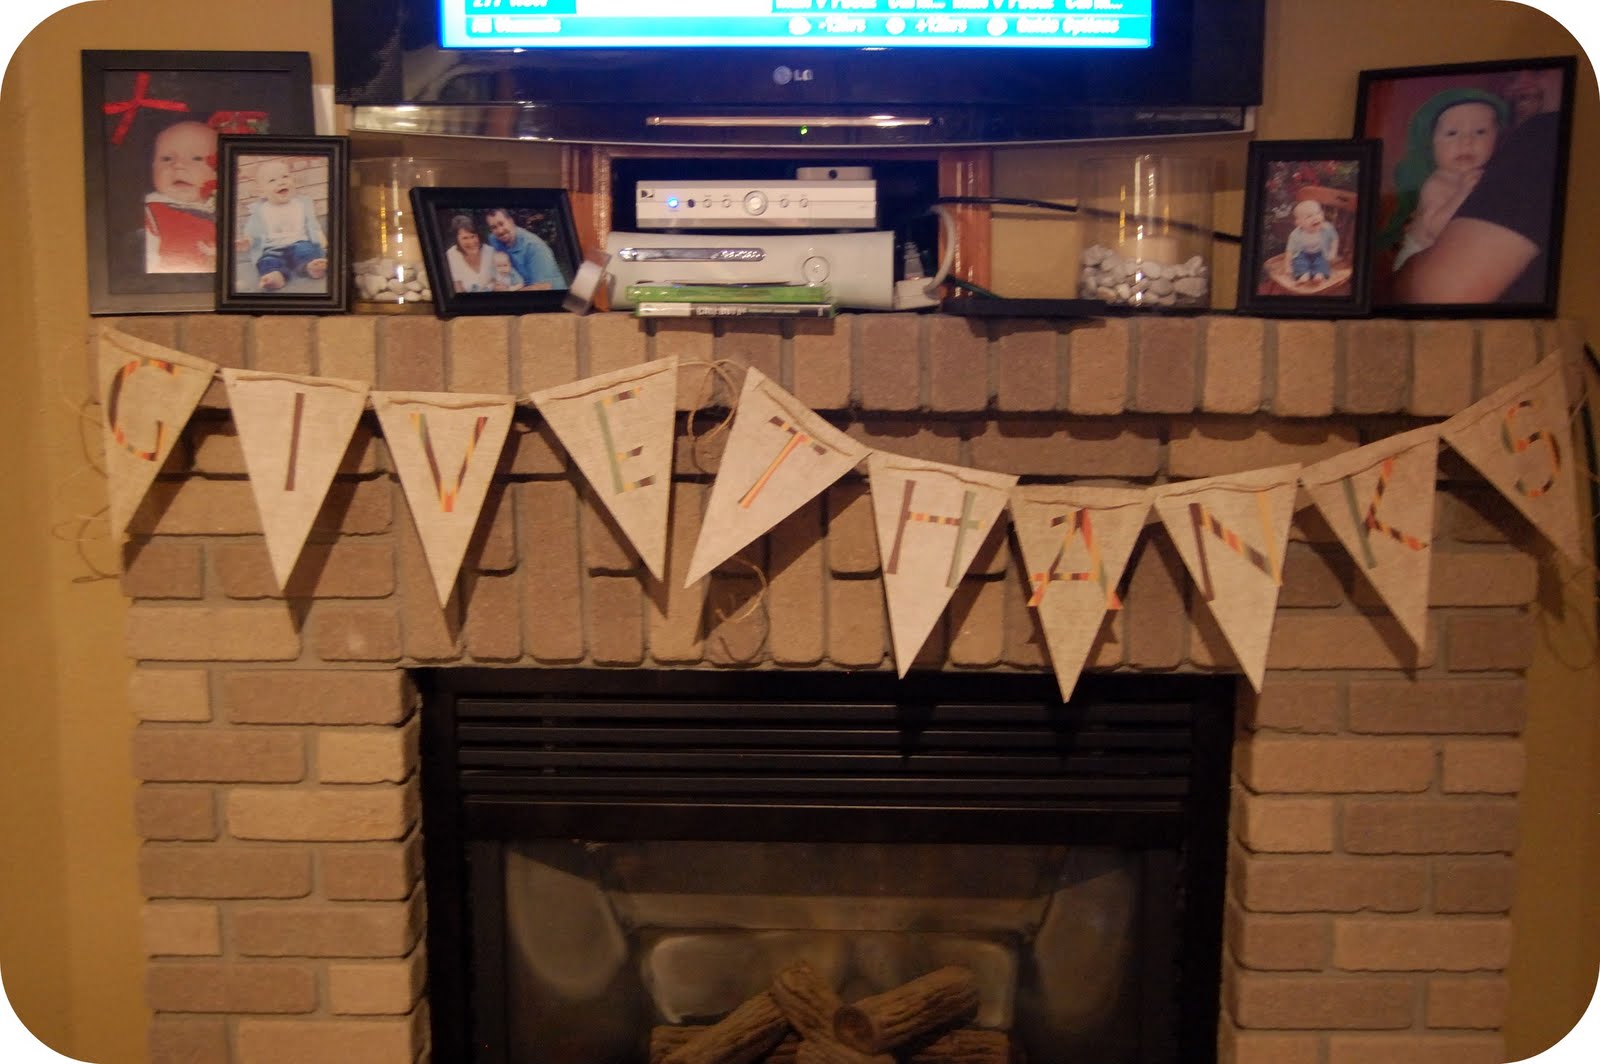
Hello out there! I realize it's been a bit since we've posted. I've been working on crafting projects but nothing that I can post here. You know, another ribbon wreath, a letter frame and some magnets (That I WILL post about as soon as I get pictures taken)....so, I thought I'd post about going green or how I've found little ways to make my life a little greener.

So, here are a few things that I have done to help out the environment.

1. I've switched most of my light bulbs from regular ones to more energy, efficent ones.
2. I've invested in some natural cleaning products. I've been using Seventh Generation and Clorox Green for my cleaning products.
3. I've switched to using all natural deodorant and toothpaste from here.
4. I've tried to be a lot better about turning off lights when I'm not using them, shutting down my computer when it's not in use, etc.
5. I take 5-6 minute showers to cut back on water usuage. (This is SO hard to do. I'm a girl who loves a nice, hot shower.)
6. I have set my theromostat at 65. It's cold. Yes, it is. But, I wear socks and sweaters now.
7. I carry a lunch bag and try to use earth friendly disposable products. I'd really love some of these. I'm also trying to remember to take my shopping bags instead of loading up on all those plastic ones at the store. I also use biodegradable paper towels and toilet paper.
8. I buy organic when I can. (It's expensive for a girl who is on a budget.)
9. I stopped buying bottled water and invested in a water bottle that is reusable.
10. I wash all my laundry in cold water.

So, there are 10 things I'm doing to help our environment and decrease my carbon foot print. What are you all doing out there in blog land?

Thursday, November 11, 2010

Give Thanks.

Hello again bloggy friends! Here's a quick little tutorial on my spiffy new mantle pennant banner that I whipped up today. It's not the grandest one out there, but it's my version and I heart it. It's pretty simple to do - here's what I used to complete the project:
  • 5 pieces of 8 1/2 x 11 scrapbook paper {I decided to use a burlap print}
  • Coordinating paper {can be patterned, plain, whatever your heart desires - how you choose to cut your letters will depend on how much you need. I made 4" letters on my Cricut and used 1 and 1/2 pieces of 12x12 paper}
  • Paper cutter {or scissors}
  • Letters {I used my Cricut to cut them out because I have one, but you could easily use stencils, your printer or sticker embellishments, etc}
  • Adhesive {I used several kinds - scrapbook e-z runner adhesive, a glue pen and tape}
  • Twine {or other sort of stringing material like ribbon - I considered cutting some grapevine to use but by the time I got to that part it was dark so I stuck with the twine}
  • Xacto blade

First, I measured out my pennants on the 8 1/2 x 11 scrapbook paper - I used two pennants per page. I used my handy dandy husband with his super precise measuring and cutting skills for this part {a less lazy person could easily do this themselves}
While the pennants were being cut, I chose my letter paper and cut to cutting the letters out on my Cricut. Once I finally had everything ready, it was time to get to gluin'. I chose where I wanted the first letter oriented and glued it down. I then used the previous letter as a template for placement of my next letter:
After all the letters were glued to the pennants, I cut vertical slits in the top corners on each side of the pennant {I found cutting on the reverse side gave the front a cleaner look}
Once all the slits were made, I strung with twine:
And hung! Please ignore my awful mantel - I have a mini gallery ode to my son going on that I haven't quite made myself tidy up and make more presentable. I chose to do each word on it's own swag and left some extra twine on either end of the word dangle freely.

Now that I see it hung, I wish I had chosen a more bold color for the backdrop, rather than the burlap print. I love that print, but compared with the muted browns and tans of the fireplace, it almost blends right in. I still think it's incredibly festive!

Hope you enjoy!


Letter Frame

During my trip to Michael's last weekend, I found these cute little, metal letters that I wanted to use for something. Of course, they were 80% off and only had letters like Q and I and X. (Which is why they were 80% off.) But, it sparked an idea for me.

I decided I wanted to take the first initial of my last name and put it in a frame but in a pretty way. So, here is what I came up with. I decided to buy a wooden letter, put some scrapbook paper on it, glue to more scrapbook paper and frame it up. Sounds simple enough right? IT IS! It was super easy to do (even for me, the crafting slow kid) and turned out a LOT better then I expected.

This morning, while I was drinking my coffee, I whipped up this handy picture version of a tutorial to show you all in blog land, how to make this project. It's my first shot at a tutorial so hopefully it makes sense.


So, there it is! My very first original project!!! I'm so proud of myself and I really do love the way it turned out. I was thinking last night that I'd really like to make a few more of these for Christmas presents. We'll see. I need to find some cheaper frames.


Tuesday, November 9, 2010

Fall Frames.

Yesterday I made two cute little fall inspired frames.

I spotted a cute little gem over on Less Than Perfect Life Of Bliss not that long ago and I've been quietly lusting over it.

I didn't take any pictures of the creative process, as I didn't do anything that spectacular. In Julie's tutorial, she used burlap for the background, a hand drawn & cut tree and a leaf punch. I used card stock and my Cricut.

I whipped out a 50 cent frame I got from the dollar store {it was a two pack of your basic pine frame}, cut a piece of sort of tannish brownish card stock to fit for the backing {no awesome burlap at my house - and that's not sarcastic, I fluffy heart burlap and it seems to be all the rage in crafting materials right now}. Then using my Stretch Your Imagination cartridge, I cut the tree {it's actually in the same color card stock as the backing but I colored it with brown Sharpie - I don't have any dark brown card stock} and then the leaves out of some fallish colors. Glued on, popped in the frame, stuck on my kitchen window sill and winner winner, chicken dinner.


After I made that little cutie, I had some adorable tree outlines leftover {I cut two trees - one for me and one to mail to Susan} that I didn't want to go to waste {seriously, you should see all the little left over bits I save from every. single. Cricut. project - madness}. I used the 2nd frame in the two pack from above, mounted the tree silhouettes on the same leaf patterned paper I cut the falling leaves from, added a small "hill" of acorn & pumpkin patterned fabric and stuck that in a frame. I'm still practicing to make rosettes, so I cut a strip of the same fabric and twisted and twirled my way into cuteness. Embellished with a button in the middle and three more coordinating colored buttons on the top and - viola!

These two cute little guys cost me exactly zilch to make {my favorite amount!}

Sunday, November 7, 2010

Ribbon Wreath

So, I'm obsessed with ribbon wreathes and frankly, it's all Sarah's fault. She sent me the link the make this wreath and I've already made one for Thanksgiving/Christmas and I've decided to make another.

I was originally going to post the one I started for Valentine's Day but today, on my trip to Michael's for more crafting supplies (that I don't need), I found this ribbon.


In so many ways, I'm very traditional and in other ways, I'm so not. These ribbons, represent me in my non-traditional way. I love the colors and the fact that they have snowflakes and trees but not in the colors that traditionally remind you of Christmas.

So, here is a preview for you. :) I'll post the finished project when complete!


Welcome to our crafty blog!

Welcome! Thanks for stopping by!

Sarah and I decided to set up a blog where we talk about our lives and our crafting projects. We have seen and been sharing (with each other) crafty blogs for awhile now so we decided to make one of our own.

I have been somewhat slow to join the crafting population but Sarah hasn't. She's been crafting and sparking ideas for years. She finally convinced me that I could do it as well and I have joined the madness. Sarah is sooooooooo talented at crafting and she's rubbed off on me. (Not the talent but the crafting bug!)

Sarah here - butting in the middle of Susan's inagural post to toot her horn a bit.  She's fairly new to crafting but has so many wonderful ideas about lots of things: growing her Scentsy business, decorating her home, striving to live a more green life - not to mention she has fantastic taste in handbags.  I'm so excited that we decided to collaborate on this blog!  I hope the future has many wonderful posts that will inspire not only one another, but anyone else that may happen to stumble upon our space.

So, here is our space! We hope you enjoy our crafting projects and stories of our lives. And we also secretly hope, we can inspire some of you in blog land, to do some crafting of your own!

Woo to the hoo!